
It's funny how for the last several springs I've brought this set out. If any set says "spring" I think SU Paris in the Spring does. Who can't imagine feeling the fresh spring air running through their hair while looking at this Parisian girl on her scooter? Even though this set is retired (harumph!) I hope to never part with it. It's fresh no matter how many times I've use it.
When you take pics of your work, you often only then notice its many flaws. And being a recovering perfectionist, I see them all loud and clear. It's what keeps me from selling my cards on eBay or sending them more often to magazines. So when looking at this card, please forgive the flaws if you are also a perfectionist, recovering or otherwise.
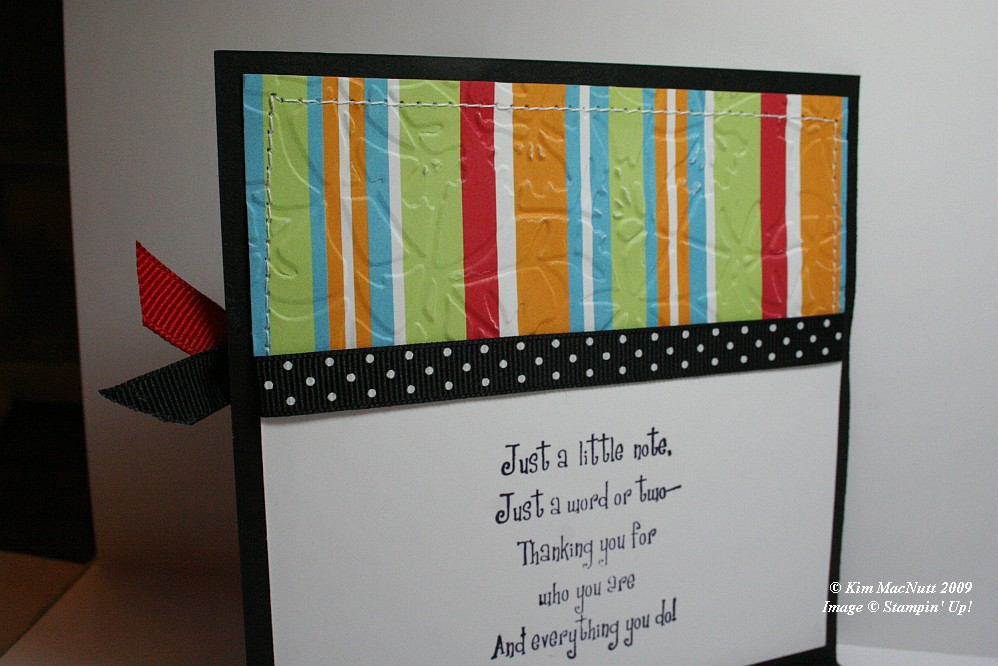
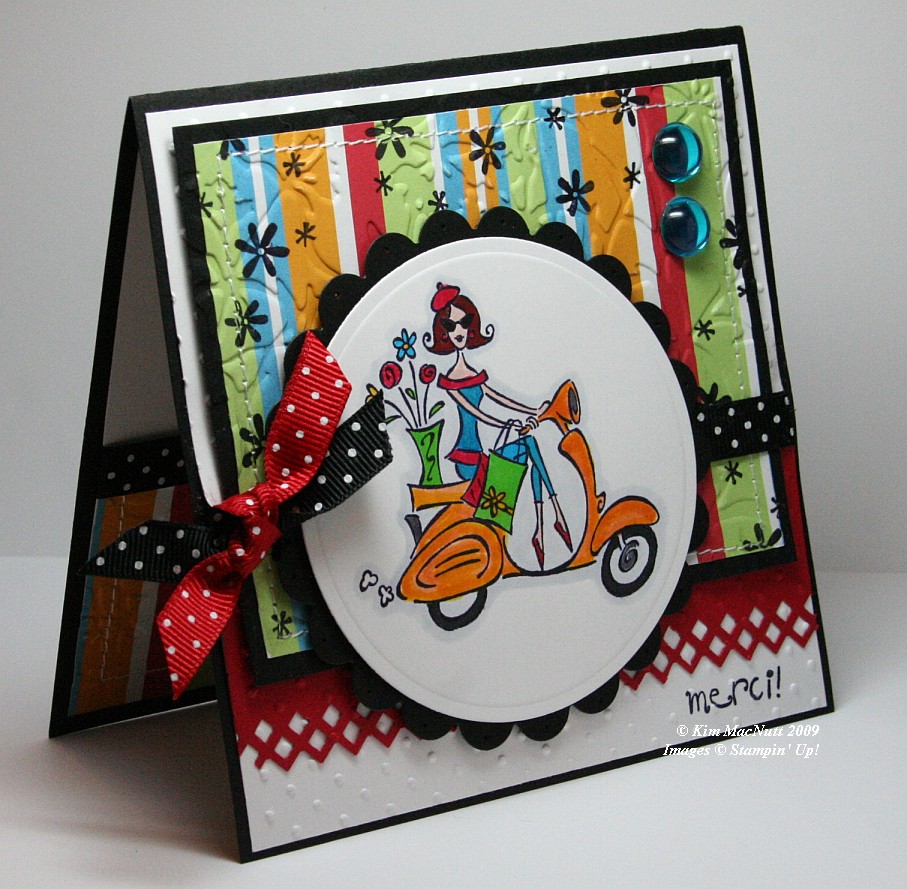
First let me say that this card fought me tooth and nail. It didn't want to come into this world, but I made it. It tried to thwart me in every way. Whether it was forgetting to put the ribbon on over a certain part and gluing it down wrong or getting the inside messed up so badly that I had to redo it completely (it was going to be white only on the main card, but now it is black).

One thing I learned while making this card is that zigzag stitching is a booger to do. Those corner turns are murder. Any tips out there on how it is done properly-like? I ruined 2 pieces of designer paper and black cs trying to zigzag stitch. I gave up and went with a straight stitch. Then my sewing machine went all wonky from me changing the settings! I have sew much to learn. heh heh
Isn't the border punch lovely? Its Fiskars "Diamond". Don't look at the left end. *sigh* See? imperfect. I had my troubles with that punch, too. It's a miracle this card exists, I tell ya!
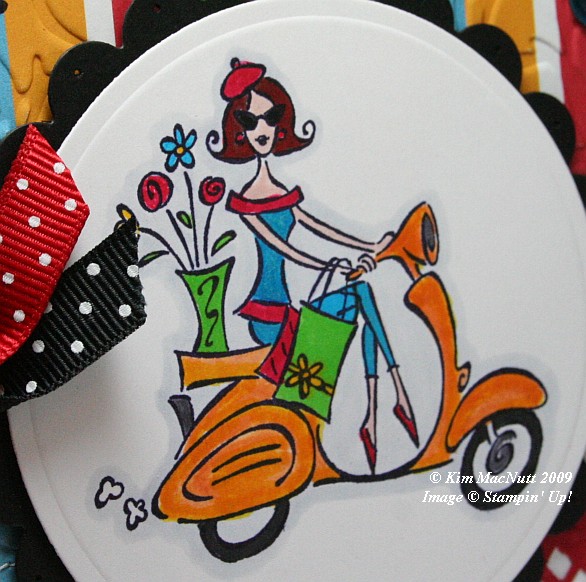
In coloring the girl I stamped on white cs with Basic Black ink. Once it was dry I colored the majority of the parts of the image with SU markers. The exceptions are that I used a water brush and Pumpkin Pie ink pad for the scooter (which I later shaded a bit with the Summer Sun marker) and the pale gray outline around the whole image which I achieved using the Copic Cool Gray (C1) marker. I've wanted that thing for the longest time. Finally got it.
I stamped the "merci!" and the flowers before embossing over them, btw.
For embossing, I used the Cuttlebug Swiss Dots and Floral Screen folders. I also used the Cuttlebug to create the scalloped and regular circles using Nesties. I used a paper piercer to poke a hole in each "petal".
Dat's about it. Ask questions if I forgot something you'd like to know. TFL!
Recipe:
Stamps: SU Paris in the Spring, SU Cool Cat (flowers)
CS: Black, White, Real Red, American Crafts "Celebration" designer paper
Inks: Basic Black, Pumpkin Pie
Markers: Summer Sun, Tempting Turquoise, Green Galore, Real Red, Ruby Red, Blush Blossom, Close to Cocoa, Going Gray, Copic Special Black, Copic Cool Gray (C1)
Other: Cuttlebug Floral Screen and Swiss Dots embossing folders, Nesties - scalloped circle, regular circle; Fiskars Diamond border punch, 3D-Dots, Large aqua gems, Black polka dot ribbon, Red polka dot ribbon, Stamp-a-ma-jig, Sewing machine
This is stunning Kim and has inspired me to pull my set out too! Beautiful job!
ReplyDeleteMany Blessings,
Melissa
I love this set too and am now inspired to make a little something! Love what you did with this card and your blog is right up my alley! Will have to visit more! Thanks for posting this! [Love the music too!] And, I am a confessed perfectionist as well--but I didn't notice any problems with your scooter girl!
ReplyDeleteI LOVE when people sew on a card. It just add something extra. Love the bright colors too!
ReplyDeleteJessica
I think this is GORGEOUS! Your whole blog is amazing! How anyone could find something wrong with this card is simply beyond me. Your eye for detail is incredible. When I do zigzag sewing on my cards I lift the *feet* up when I get to the corner and then turn my card making sure the needle is through my paper when I do it to hold it in place. Once it's turned I put the *feet* back down and start sewing again. I hope that helps. :)
ReplyDeleteThanks everyone! I appreciate your feedback!
ReplyDeleteDebbie, the hardest thing for me is knowing when to stop before I turn. The zigzag stitch is a whole other animal. I must try again!