
A big Saturday hello to you! I hope your weekend is a good one! Since I'm posting this ahead of time I have no idea what I will be doing, but I hope it involves gardening or yard sales and NOT oppressive heat!
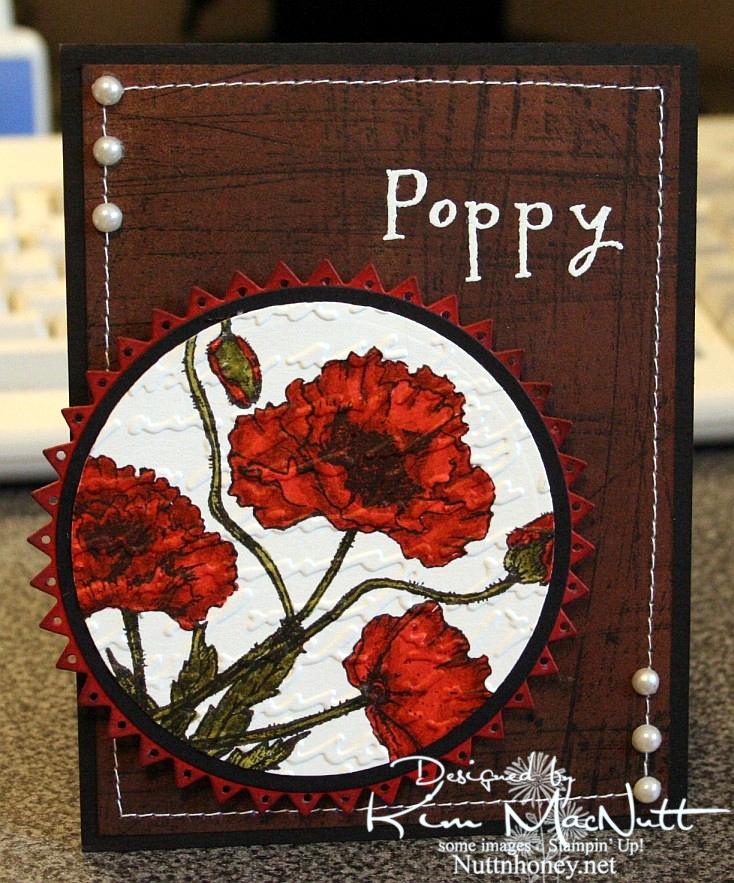
I hadn't played with my Flourishes stamps in quite awhile and I thought they might be a bit lonely. So I pulled out the Poppy Patch set and got to work coloring! All I did was carefully add ink a layer at a time, going lightest to darkest. One day maybe I'll have a whole slew of Copics, but until then I will have to make do with my SU markers and their color limitations. Wouldn't it be neat if SU competed with Copic and made 3 shades per color? You know, dark, medium and light? Maybe they'd keep some of us stampers from jumping on the Copic bandwagon. Personally, my pockets ain't deep enough to shell out the dough needed to collect Copics unless that's all I want to buy! So I make do.
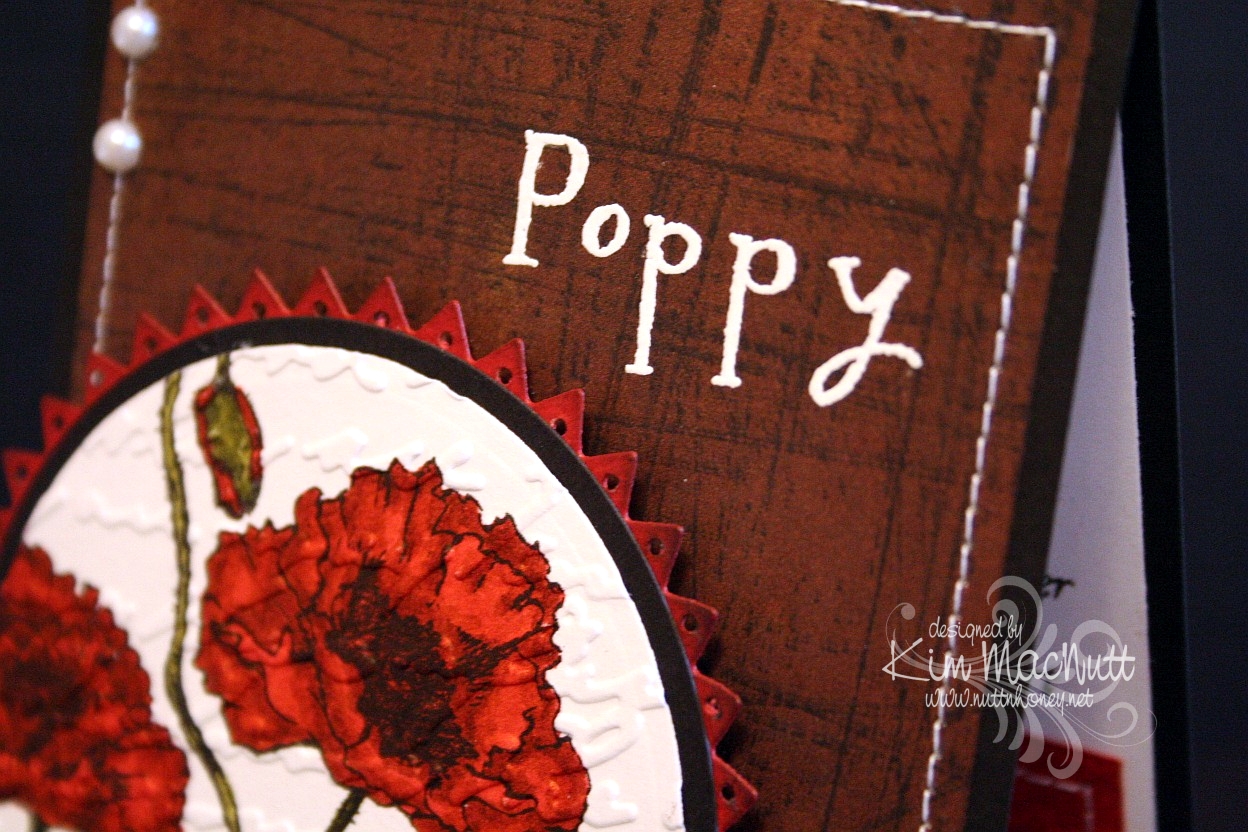
I used the Stampin' Up! Sanded background stamp on a piece of brown Basic Grey paper, stamped in Versafine Onyx Black. I really liked the effect. I thought it looked kind of like the side of an old barn, something you'd see poppies growing beside. Maybe I should expand on that thought in my next card?
I used opaque white ep and VersaMark ink to heat emboss the word "Poppy" on the "side of the barn". I thought the white stitching would really set it off. Then I thought some pearls would be nice. They go with everything, ya know!
When it came to the poppies I wanted to make them as real looking as possible and colored them as stated above. Then I thought the Script embossing folder would add a touch of elegance to them. Then I thought the pinking circle would add a bit of whimsy to the overall look and then went and poked holes in each triangle using a 1/16" hole punch to be even more different. That made me sweat a bit! I was afraid that one false move and I'd ruin it and would have to start over.
Btw, I did DTP with Ruby Red ink on the pinking circle before cutting it out and poking the holes. Then I sponged the edges with Chocolate Chip ink.
On the inside, I carried the theme of the poppy, the Script folder, the DTPed Ruby Red cs and the sewing. The word phrase is from the same set.
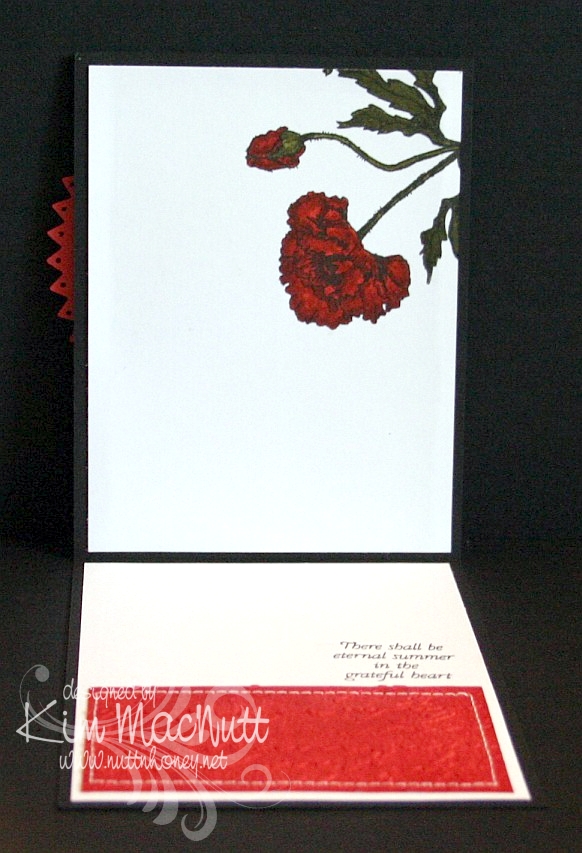
Here is a close-up of the saying.

I really enjoyed making this card and hope it inspires you in some way. I appreciate you coming by for a look!
Take care and have a lovely day today!
Recipe
Stamps: Flourishes "Poppy Patch", Stampin' Up! Sanded
CS: Black, Basic Grey (not sure which collection), Ruby Red, white
Inks: Versafine Onyx Black, VersaMark, Ruby Red, Chocolate Chip
Markers: Ruby Red, Baroque Burgundy, Old Olive, Always Artichoke, Basic Black
Other: Cuttlebug Script embossing folder, Nestabilities Large Pinking Circles, Classic Circles Small, 1/16" hole punch, opaque white embossing powder, pearls, sponge dauber, sewing machine, 3D-Dots
Hi Kim!!! Oh I'm loving these poppies!!! Your coloring is fantastic and I love the sanded bg! The clear embossing really pops! Being in NC I'm hoping for no oppressive heat but I don't think that's in the forecast for us.... going to feel over 100 today and humid besides! But that yard work still needs to be done! LOL! Have a good one, whatever you do!
ReplyDeleteWow, Kim! Another beauty! Your poppies are gorgeous and I love the script also! (What, no bubbles? lol!) It doesn't matter which ef you choose, everything you make is outstanding! God Bless you, girl!
ReplyDeleteOh Kim, gorgeous card as usual! TFS, will pass by again, to take a look of all the beauties you create! Hugs always!
ReplyDelete